There are many ways to transfer embroidery patterns onto fabrics. Usually, if I’m working with a light-colored fabric that is fairly thin, I can trace the design directly onto it. I use a window as a lightbox to help me see the design clearly through the fabric and then trace the lines with a pencil.
Last week I stitched a small embroidery design onto chambray fabric which wasn’t suited to my usual window transfer method. I dug around in my haberdashery supplies and found some dressmakers carbon paper which I picked up at an op-shop for 50c, I knew it would come in handy one day.

How to Transfer Embroidery Patterns onto Dark Fabric
You will need:
- The design you wish to transfer
- Fabric to embroider on
- Tissue paper or see-through tracing paper
- Carbon transfer paper – available in various colors
- Pen
- Sewing pins
- General embroidery supplies to complete your project
- Washi tape (optional)
How to:
1. Choose your embroidery design. Remember you can always use a photocopier to enlarge or reduce the size as required to fit your project.
2. Lay the tissue paper over the design. Tape it with washi tape if the design is large to prevent the paper from sliding around.
3. Copy the design onto the tissue paper with a pen.
4. Cut out a piece of carbon tracing paper about the same size as your design. Choose a color that contrasts with your fabric. I’ve chosen red, but if you have black fabric, white carbon paper is available. Place the colored side of the carbon paper facing down and then pin the tissue paper with the design on top.
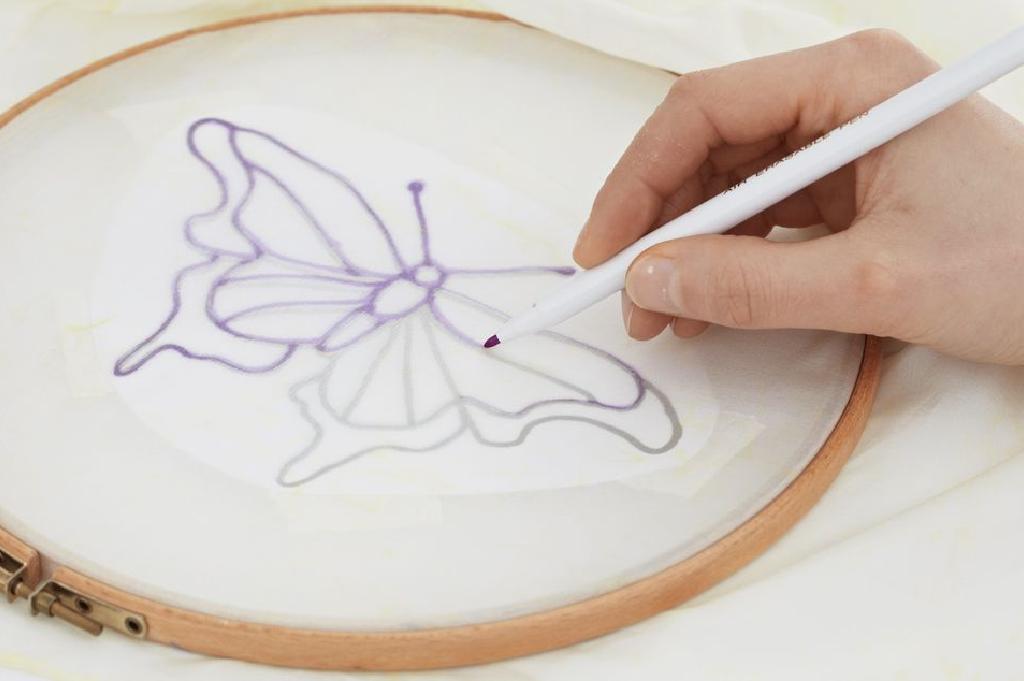
5. On a hard surface, go over the lines with a pen. The pressure will transfer the colored carbon onto the fabric.
6. Go ahead and embroider your design. The lines may fade with handling so if required touch up any details with a pencil or disappearing marker.