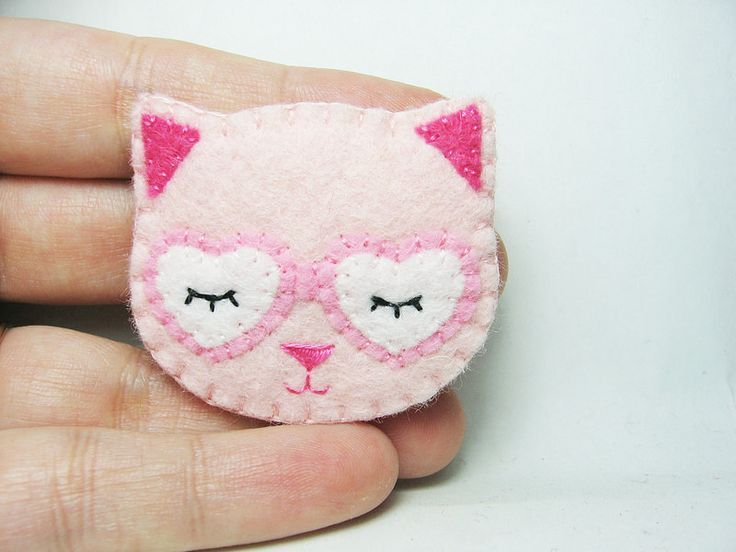
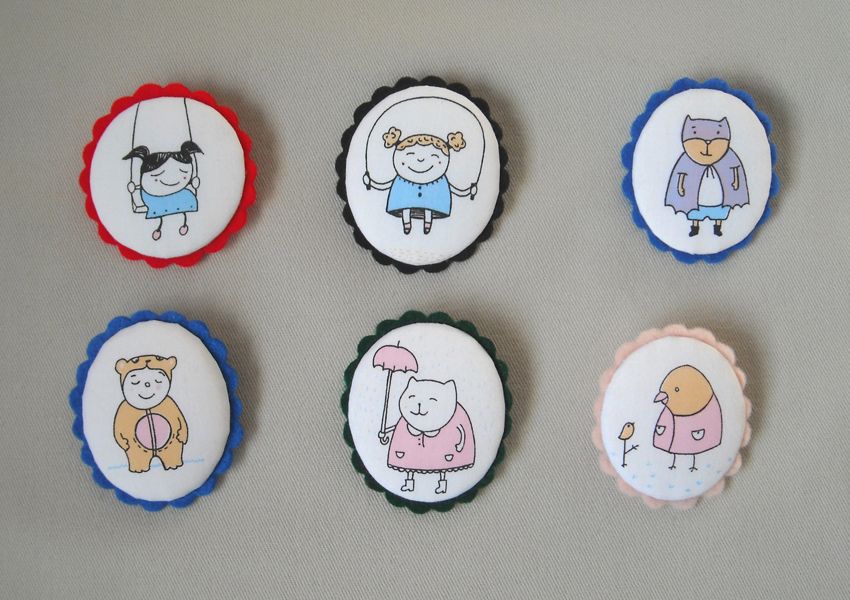
A few short moons ago I had this idea floating around in my noggin, of making cute, cartoony little cameo portrait brooches, without the formality of its Victorian design counterparts. Rather than using metal, hair and paint I decided that this brooch design would be and sewn. So let’s get started!
You will need:
- Pattern template
- Felt (five colors of your choice)
- Thread (matching the felt, plus black)
- Cardboard
- Safety pin or brooch pin
- Needle
- Scissors (paper, dressmakers, and pinking shears)
- Dressmakers pins
- Fabric marker or dressmakers chalk
Notes:
Safety pin: I have a lifetime supply of safety pins after discovering that these are an alternative to brooch back pins. As a result all the badges I make have… Yep! You guess it. – Safety pin backings.
Threading the needle: Decide on your length of thread then double the length. Feed the thread through the needle eye. Bring the ends of the thread together and tie a nice, thick double knot. This method ensures your thread will not accidentally come out of the needle while sewing.
How to:
1/ Print template at 100% and cut out the pattern pieces.
2/ Draw an outline of pattern pieces onto felt and cardboard. When drawing on the felt use a fabric marker or dressmaker’s chalk. Out the felt and cardboard pieces. You can use pinking scissors for the back base piece.
3/ Place headpiece over hairpiece. Hand-stitch these two pieces together along the edge of the headpiece. Colour match thread to head felt.
4/ Position eyepieces on the head and stitch along the edge of the eyes. Colour match thread to head felt.
5/ Using fabric marker draw an outline of the lower lashes, then hand-stitch the lower eyelashes in contrasting thread colour.
6/ Again using the fabric marker draw an outline of the eyebrows and lips then hand-stitch in yet another contrasting thread colour.
7/ Plan your layout of hair/face and shirt top on the upper base piece before you do any sewing.
8/ Stitch hair/face to the upper base piece, stitching along out edge of what is now appearing to be a cartoony portrait. Colour match thread.
9/ Stitch the left and right sides of the portrait shirt top piece to the upper base. Keep the neckline and lower hem open. Colour match thread to the shirt top.
10/ Sew the brooch pin/safety pin (or brooch back) to the back of the back base piece, 2cm down from the top.
11/ Layer the back base, the cardboard and the now fully detailed upper base.
12/ With a contrasting thread plain stitch along the edge of the upper base ensuring the cardboard is sitting centrally between the felt layers. If it helps you can pin the pieces together to keep everything centred and straight while stitching the brooch closed.
13/ Oh look! You’ve finished. Now it’s time to find someone to pin this brooch on to.
After thought: this brooch could make a cute wall hanging for a dollhouse. You can do other neat things with this brooch design – add ribbons, tiny bows, change the colours, cut out a completely different hairstyle. It’s totally and completely up to you.